
Residential applications
Warmth you feel,
not hear.
Heat rises from the floor you stand on. No air blowing through the room, no fan noise, no radiators taking up wall space.
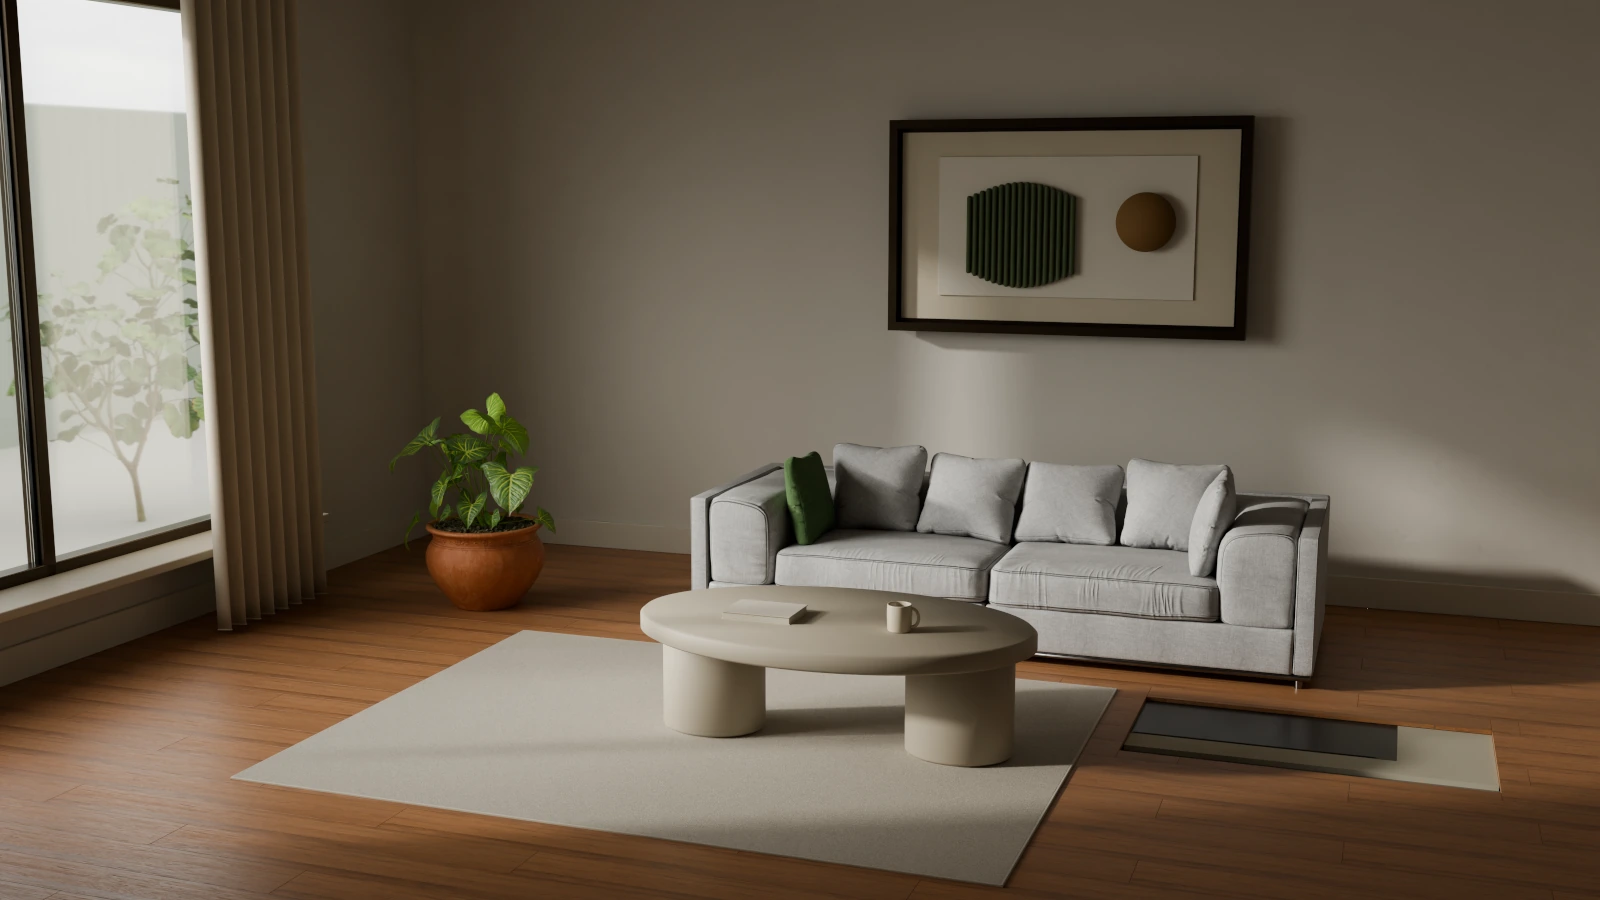

Everyday comfort
Heating beneath
the floor.
The floor construction, heating coverage and controls need to suit the room.
Start with how you live.
A living room, a bedroom or a space being renovated. Its use and floor construction shape the project.
Read the story
Start with how you live.
A living room, a bedroom or a space being renovated. Its use and floor construction shape the project.
A layer within the floor.
The separated floor view shows the heating film beneath the finish, alongside insulation and the supporting floor.
Bring the details together.
Review the room’s heat requirement, available coverage, flooring and proposed controls as one heating plan.
Illustrative views. Construction follows the selected model; connections and protection follow the project’s electrical design.
Start with how you live
Different rooms.
Different rhythms.
Discuss how each room is used and what its floor construction can support.
Where everyone gathers.
Consider the areas that carry everyday life: a living room, a dining space or the corner where you read.
A room with its own routine.
Bedrooms and workspaces may have different schedules. Review their heating needs and controls individually.
A chance to rethink the floor.
When finishes are being changed, explore the available build-up, insulation and electrical design before choosing a system.

Beneath the finish
The film sits
under the floor.
The heating film is laid beneath the finish you choose, so the room keeps its own floor.
CG illustration. Floor layers and fixings follow the selected model.
Room planning
Floor finish, controls
and building.
Your materials.
Choose the finish for its character and its use. Each finish brings a temperature limit, and the design respects it.
Your routines.
Plan zones around the way each room is used. Confirm sensing, settings and any scheduling with the selected controls.
Your building.
A home’s heat loss and construction set the size of the job, and the floor system’s role alongside existing heating.
A little more clarity
Residential questions.
Can this replace my home’s existing heating?
The heating plan is calculated for your building. Discuss room heat loss, available floor coverage, electrical design and the selected model with the project team before deciding how it works with your existing heating.
Will the floor feel hot?
Floor temperature depends on the finish, the assembly and the control settings. Review the selected finish’s temperature limit, thermostat and floor sensor together; the film format alone does not set the finished-floor temperature.
How is it controlled?
A wall thermostat sets the temperature and schedule, with a floor sensor providing feedback. The specified control, electrical circuits and room plan determine which areas can be controlled together.
Get in touch
Let’s start with
your rooms.
Start with your space, your chosen flooring and what you’d like to improve.
Discuss your project